If you’re planning to charge an 18650 or polymer lithium battery using solar power, CN3791 is your best bet. It automatically tracks the solar panel’s maximum power point (MPPT), giving you the most efficient charge. It supports input voltages from 4.5 to 28V, but I’d recommend a solar panel around 6 to 18V for better efficiency. It charges your battery in constant current/voltage modes, up to about 1.8A depending on cooling and inductor choice. Set MPPT voltage to about 76% of your input. Skip temperature protection by using a fixed resistor, and remember, never reverse battery polarity—adding a TVS diode helps keep things safe.

CN3791 Circuit & Datasheet
Access the CN3791 circuit details and datasheet to explore its technical specifications and design applications.
- Brands: ShangHai Consonance Elec
- Download: -
- Price: inquiry
- In Stock: 14223
- Charge Current - Max: -
- Number of Cells: 1
- Type of Battery: Lithium-ion/Polymer
- Package: SSOP-10-150mil


FREE delivery for orders over HK$250.00

Quick response, quick quotaton

Flash shipment,no worries after sales

Original channel,guarantee of the authentic products
Cn3791 MPPT solar charger module – Connection and Working
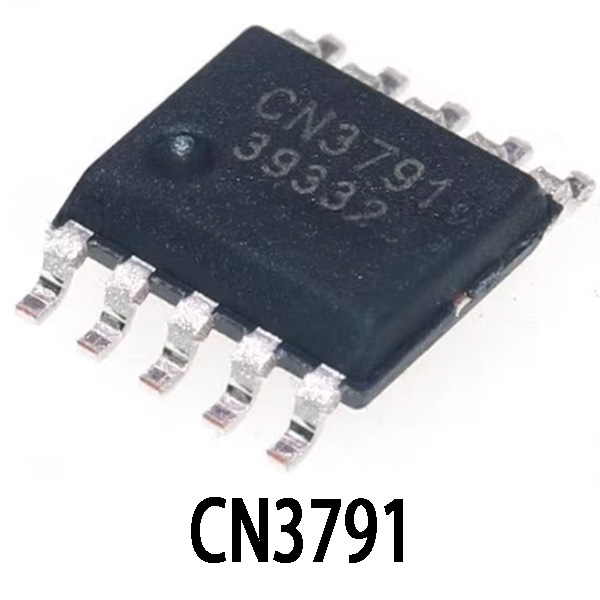
CN3791
If you’re working on a solar charging project, check out the CN3791—it’s designed specifically for single-cell lithium batteries, charging them reliably to 4.2V. Its standout feature is MPPT, meaning it automatically adjusts the power from your solar panel to maximize efficiency. With an input range from 4.5V to 28V, it works with nearly any solar source you have. Plus, built-in synchronous rectification means it runs cool and efficient. All you need is a resistor to set the MPPT point, keeping your circuit simple—ideal for portable solar chargers.
CN3791 Pinout

| Pin | Name | Type | Description |
|---|---|---|---|
| 1 | VCC | Power Input | Chip power supply pin, connect to input voltage (e.g., solar panel), range 4.5V–28V |
| 2 | SW | Output | Switching node, connect to inductor, capacitor, battery, outputs PWM signal |
| 3 | GND | Ground | Power ground, common system reference |
| 4 | BAT | Analog Input | Battery voltage detection, directly connected to lithium battery positive terminal for feedback control |
| 5 | MPPT | Analog Input | Maximum Power Point Tracking setting, use resistor divider to set operating voltage point (typically 70~80% of input voltage) |
| 6 | NTC | Analog Input | Battery temperature detection, connect to NTC thermistor, stops charging on overtemperature |
| 7 | CHRG | Open-drain Output | Charging status indicator, low level means charging, can drive LED |
| 8 | FAULT | Open-drain Output | Fault status output, low level indicates error (e.g., over-temp, over-voltage) |
When using CN3791, make sure your VCC input line has surge protection like a TVS diode or TVR. For the SW pin, pair it with a Schottky diode, an inductor, and capacitors to build your step-up/down circuit efficiently. Set the MPPT voltage at around 76% of your input voltage—that usually hits the sweet spot. If you’re skipping temperature protection, replace the NTC pin with a fixed resistor. CHRG and FAULT pins are open-drain, so add something like a 10kΩ pull-up resistor. Lastly, don’t leave the BAT pin floating; connect it directly to the battery positive terminal.
CN3791 Equivalent


| Parameter / Model | CN3791 | CN3722 | MT3608 + TP4056 | BQ24650 |
|---|---|---|---|---|
| Package | SOP-8 | SOP-8 | SOP-8 x2 (separate) | SOP-8 |
| Function Type | MPPT Li-ion Charger IC | Fixed MPPT Charger IC | Boost Module + Linear Charger Combo | Advanced MPPT Charger Controller |
| Supported Battery Type | Single-cell Li-ion | Single-cell Li-ion | Single-cell Li-ion | Single or Multi-cell Li-ion |
| MPPT Function | Yes, adjustable via resistor | Fixed MPPT point (non-adjustable) | No (manual tuning) | Yes, dynamic tracking algorithm |
| Input Voltage Range | 4.5V–28V | 4.5V–28V | 2V–24V (boost) | 5V–28V |
| Max Output Current | 1.8A (typical) | 1.8A (typical) | TP4056: 1A | Up to 5A |
| Charge Termination Voltage | 4.2V (fixed) | 4.2V (fixed) | 4.2V (adjustable) | Configurable |
| NTC Temperature Support | Supported | Supported | TP4056 Supported | Supported |
| LED Indicator | CHRG / FAULT | CHRG / FAULT | CHRG / STDBY | Multi-status Output |
| Cost / Availability | Low cost, easy to source | Low cost, easy to source | Ultra low cost, easiest to source | Relatively expensive, higher technical complexity |
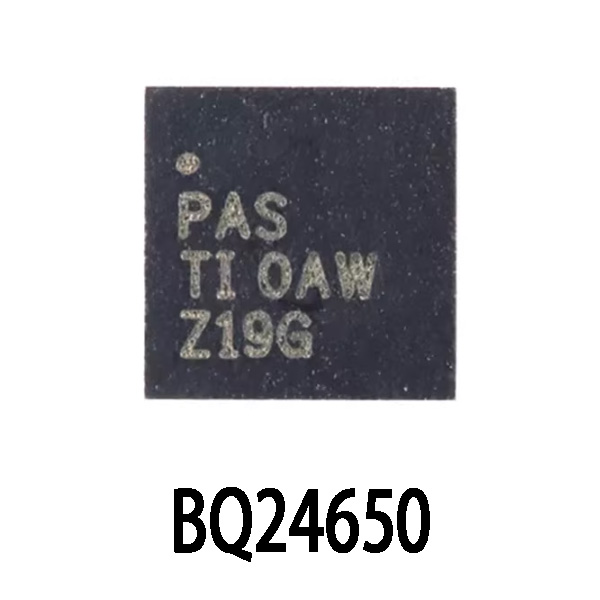
If you’re looking to replace CN3791, the CN3722 is a simplified option with fixed MPPT voltage—not ideal if you swap solar panels often. For budget or DIY projects, you can combine MT3608 with TP4056; they don’t support MPPT, but are flexible and cost-effective. However, neither option provides dynamic MPPT. For something smarter, BQ24650 is great—it supports multiple cells, dynamic MPPT, and higher current—but it’s pricier and needs more components, making it less suitable for a direct swap.
CN3791 MPPT Charging Circuit Example
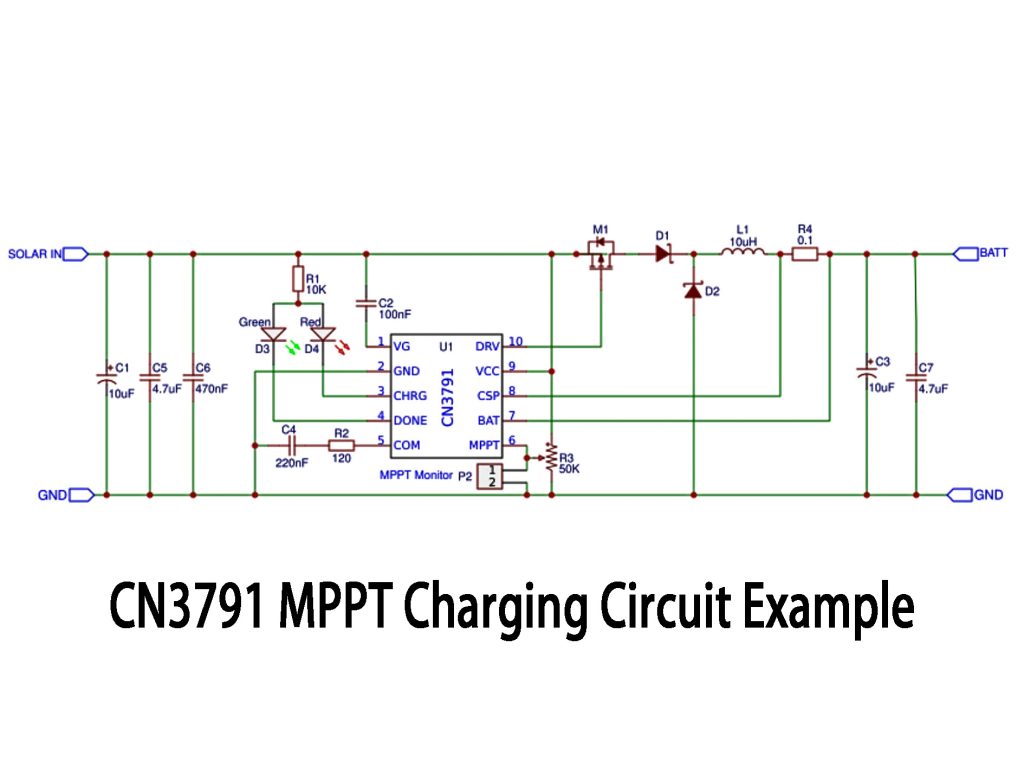
In this circuit, the CN3791 chip handles your solar charging with built-in MPPT, making sure you get maximum energy from your solar panel. It clearly labels “+6V Solar Charger” at the input, stabilized by several capacitors. The chip controls MOSFET M1, combined with diode D1 and inductor L1 to step-down voltage effectively. Current sensing resistor R4 helps the chip manage the charging current. Two LEDs (green D3 and red D4) clearly show you the charging status. Battery output has filtering capacitors, ensuring smooth charging. It’s a straightforward circuit perfect for your solar charging projects.
CN3791 Lithium Battery Charger Module
CN3791 12V Battery Charging Setup
When charging a 12V lead-acid battery or series lithium batteries with CN3791, keep the input voltage between 18-24V for optimal MPPT performance. Connect the battery output directly to your 12V lead-acid battery or three lithium cells, negative side to ground. Set the cutoff voltage around 14.4V for lead-acid or 12.6V for lithium by changing the feedback resistor. The module defaults to single-cell charging, so adjust resistors accordingly. Also, choose quality inductors and Schottky diodes for stable current. If using solar panels, ensure their open-circuit voltage stays under 28V to protect the chip.
More Like This

ICL7660SIBA
Harris Corporation
ICL7660CBA
Intersil

ICL7660AIBA
Harris Corporation

ICL7660AIBA
Intersil

ICL7660ACPA
Intersil

MCP16418-I/UN
Microchip Technology

MCP16415-I/UN
Microchip Technology

MCP16416-I/UN
Microchip Technology

IR3863MTR1PBF
International Rectifier

LM2673LD-5.0
National Semiconductor
LM2670LD-5.0
National Semiconductor
LM2670LD-12
National Semiconductor
Also Add to Cart

XC9235C0MCMR-G
Torex Semiconductor Ltd
XC9141B34CER-G
Torex Semiconductor Ltd
XC6127C48K7R-G
Torex Semiconductor Ltd
SN74ALVCH162344DL
Texas Instruments

QS74FCT162646ATPV
Quality Semiconductor

UCC28060DG4
Texas Instruments

CDCM6208V2RGZR
Texas Instruments

PT2314E
PTC(Princeton Tech)

Z0853006VSG
Zilog
BCM55440B0IFSBLG
Broadcom Limited

AD7265BSUZ
Analog Devices Inc.

8N3Q001FG-0082CDI
Renesas Electronics America Inc
Related Products
ICL7660ACBA
Intersil
ICL7660SIBA
Harris Corporation
ICL7660CBA
Intersil
ICL7660AIBA
Harris Corporation
ICL7660AIBA
Intersil
ICL7660ACPA
Intersil
MCP16418-I/UN
Microchip Technology
MCP16415-I/UN
Microchip Technology
MCP16416-I/UN
Microchip Technology
IR3863MTR1PBF
International Rectifier
LM2673LD-5.0
National Semiconductor
LM2670LD-5.0
National Semiconductor
LM2670LD-12
National Semiconductor
LM2673LD-12
National Semiconductor
LM2673LD-ADJ
National Semiconductor
LM2670LD-3.3
National Semiconductor

LA5771MP-DL-E
Sanyo
LA5771MP-E
Sanyo

LA5779MP-E
Sanyo
LM2660M
National Semiconductor
ISL9120IINZ-T7A
Renesas Electronics America Inc

EL7535IY
Intersil
LA5752-E
Fairchild Semiconductor
LA5752-E-SY
Sanyo

LM2853MH-1.8
National Semiconductor

MAX1834EUT
Analog Devices Inc./Maxim Integrated

LM2575-5.0YN
Microchip Technology
MAX1921EUT25
Analog Devices Inc./Maxim Integrated

MAX77540AAWV+
Analog Devices Inc./Maxim Integrated
LA5774MP-E
Sanyo
Please send RFQ , we will respond immediately.

Please send RFQ , we will respond immediately.
Copyright © 2024 All Rights Reserved