EV1527 Arduino & circuit diagram | code & datasheet
- Brands: Feng Niao RF
- Download: -
- Price: inquiry
- In Stock: 29313
- Manufacturer: Feng Niao RF
- Package: SOP-8

FREE delivery for orders over HK$250.00

Quick response, quick quotaton

Flash shipment,no worries after sales

Original channel,guarantee of the authentic products
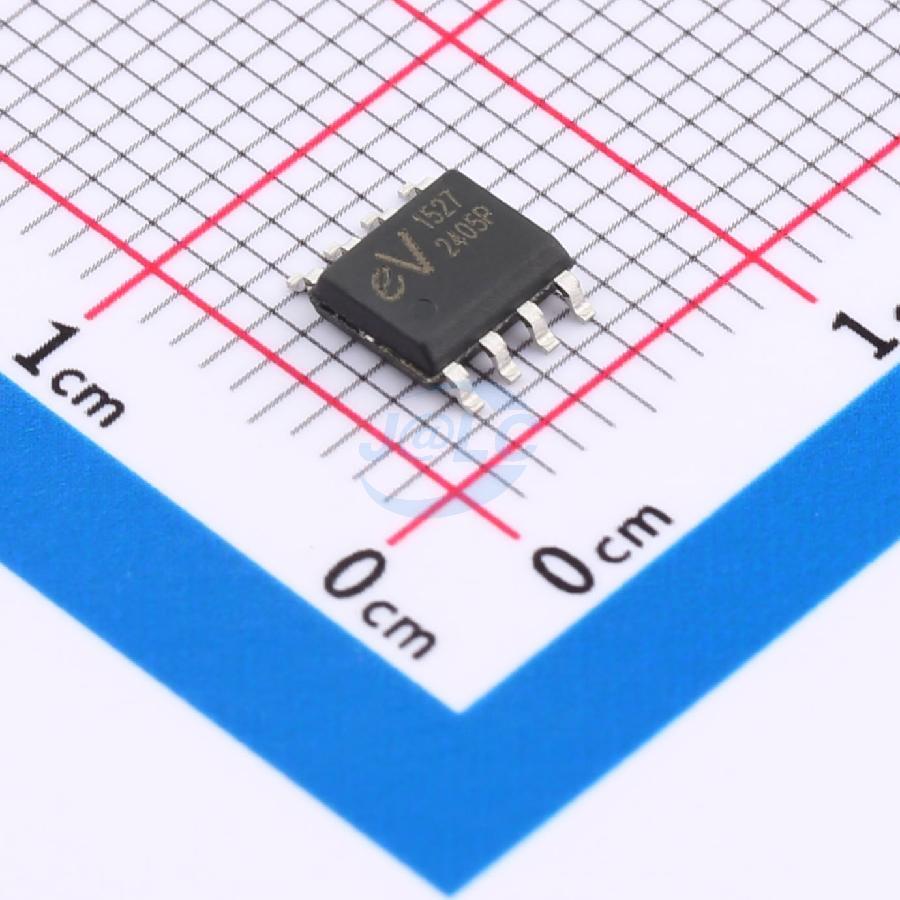
EV1527
The EV1527 is a neat little RF encoder chip, perfect when you’re building wireless remotes or alarms. It has built-in oscillation and address encoding circuits, giving you over a million unique codes, so you won’t accidentally trigger someone else’s device. With a flexible voltage range (3V–12V) and ultra-low standby current, it’s ideal for battery-powered projects. Pair it with a 315MHz or 433MHz RF transmitter module, and you’re good to go. It’s straightforward, with just four data pins to handle the coding, and usually comes in compact DIP or SOP packages.
EV1527 Pinout

| Pin Number | Pin Name | Function Description |
|---|---|---|
| 1 | D0 | Data key input 0 |
| 2 | D1 | Data key input 1 |
| 3 | D2 | Data key input 2 |
| 4 | D3 | Data key input 3 |
| 5 | VSS | Ground (GND) |
| 6 | OSC1 | External crystal input (connect resistor) |
| 7 | OSC2 | External crystal output (connect resistor) |
| 8 | VDD | Power supply (+3V to +12V) |
When you’re using the EV1527 chip for wireless remote controls, you’ll typically pair it with a 315MHz or 433MHz RF module. Its four data pins (D0-D3) hook directly to push buttons or MCU GPIO pins, making wiring straightforward. You’ll also use a single external resistor (usually 330kΩ) between the OSC1 and OSC2 pins to set the internal clock frequency. The chip runs smoothly on 3V–12V, ideal for battery-powered gadgets. Just remember, unused button pins should be grounded to avoid random signals, and keep the RF module away from your MCU or other noisy components for clear transmissions.
EV1527 Equivalent


| Parameter | EV1527 | PT2262 | SC2262 |
|---|---|---|---|
| Encoding Type | Learning Code | Fixed Code | Fixed Code |
| Number of Button Inputs | 4 | 6 | 6 |
| Number of Code Combinations | >1,000,000 | 531,441 | 531,441 |
| Operating Voltage Range | 3V – 12V | 4V – 15V | 4V – 15V |
| Package Type | DIP-8 / SOP-8 | DIP-18 | DIP-18 |
| Compatibility Note | Standard Model | Different Encoding Method | Compatible with PT2262 (Chinese version) |
If you’re looking to replace an EV1527 chip, go with similar learning-code chips like RT1527P or HX2262. These ensure compatibility with your existing receivers and pairing methods. Chips like PT2262 or SC2262, while similar in pin layout, use fixed-code encoding instead, which won’t match your current learning-code receivers. If you’re only toggling outputs, they could work hardware-wise, but you’ll need to replace both transmitter and receiver with a fixed-code system. Just double-check the coding protocol before switching to save yourself from unnecessary hassle.
EV1527 RF Remote Control Circuit

This circuit is a clear example of an EV1527 RF remote transmitter design. On the right side, you’ve got the EV1527 chip with four key pins: OSC connects to a 330k resistor for frequency, Vcc and GND for power, and TXD to send the coded signal. Pins E0-E3 link to four buttons with 4.7k pull-up resistors; pressing a button sends a unique code. An LED gives visual feedback when transmitting.
On the left, there’s an LC oscillator circuit built with a 2.2μH inductor and several small capacitors, tuned by a 5P adjustable capacitor around 433MHz. Make sure the frequency matches your receiver. Attach a 17cm wire antenna near the LC output. Keep components tight and compact for better RF performance. Power-wise, EV1527 supports 3-12V, though 5V is ideal.
EV1527 Arduino
The EV1527 itself can’t talk directly to Arduino since it’s just an encoder chip. But pair it up with a 433MHz RF module like the FS1000A transmitter and MX-05V receiver, and your Arduino can easily read remote signals. When you press a button on your EV1527 remote, it sends a unique code through the transmitter. Your Arduino catches this using MX-05V with the RCSwitch library.
Wiring is simple: hook the receiver’s data pin to Arduino’s D2, and add a 17cm antenna wire for better reception. Just keep in mind, different remotes might send out different codes, so double-check what your Arduino receives first.
Great for DIY wireless lighting control, remote door locks, or fun projects like RC cars.
EV1527 Usage
EV1527 is great for building simple wireless setups. First, you can pair it with a 433MHz module for wireless switches, controlling lights, fans, or power sockets remotely—just press the buttons and easily pair with receivers using learning-code chips (like PT2262 or MCU-based modules).
Another popular usage is for security alarm remotes. Pressing a button sends a unique code from the EV1527 to arm, disarm, or trigger emergency alerts. With millions of possible codes, interference isn’t really a worry, making it perfect for affordable security systems.


.jpg)


