AMG8833 datasheet, price & Arduino | IR thermal camera
Explore the capabilities of the AMG8833 with our comprehensive Reference manual. Learn about pinout, compare with MLX90640, and discover pricing and alternatives.
[Sensor | Infrared Modules]AMG8833 IR Array Sensor Module BMS26M833
AMG8833
The AMG8833 is a handy thermal imaging sensor that gives you an 8×8 pixel temperature map of the area in front of it—perfect for sensing people or objects. It measures from 0°C to 80°C with about ±2.5°C accuracy, enough for everyday uses. You hook it up via I²C, default address at 0x69 (but adjustable). Refresh rate is selectable at 1fps or 10fps, with a viewing angle of roughly 60°×60°. It runs at just 3.3V with low power usage, ideal for wearables, smart home gadgets, or security sensors.
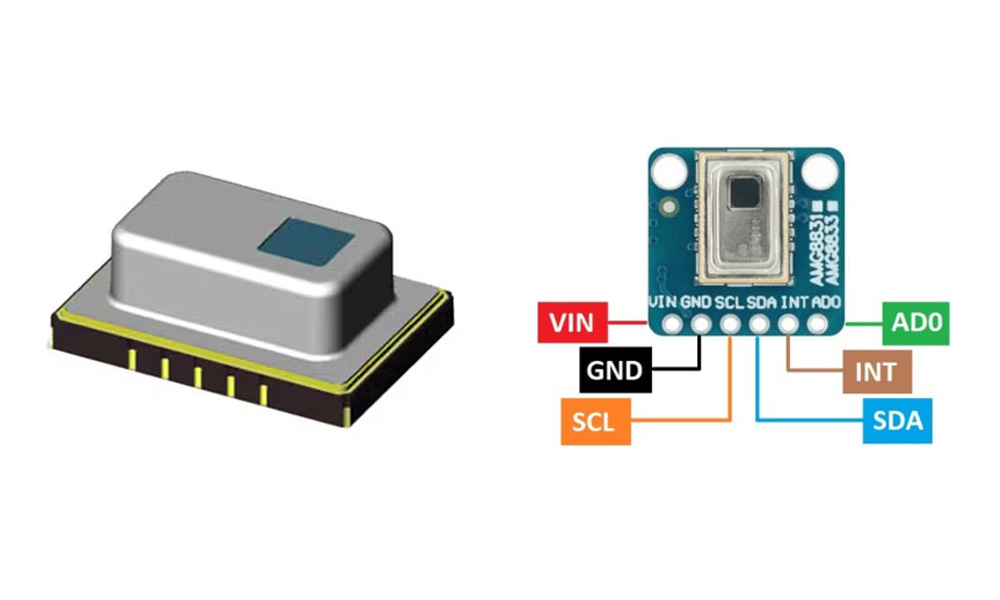
AMG8833 Pinout
密碼
引腳名稱
功能描述
1
車輛識別號碼
Power input (3.3V or 5V)
2
3Vo
3.3V output (provided by onboard LDO)
3
接地
地面
4
SDA
I²C data line (connect to MCU’s SDA)
5
SCL
I²C clock line (connect to MCU’s SCL)
6
INT
Interrupt output (optional, for event detection)
When you’re working with the AMG8833 module, powering it is simple—VIN accepts either 3.3V or 5V since it includes an onboard regulator, but remember the sensor itself runs only at 3.3V. Communication is straightforward via I²C, default address is 0x69; if you prefer 0x68, just disconnect the ADDR solder joint. The INT pin triggers interrupts like human detection, leave it floating if unused. Most modules have pull-up resistors for SDA and SCL onboard, so avoid adding duplicates when sharing I²C lines.
AMG8833 Equivalent Thermal Sensor
範圍
AMG8833
MLX90640
MLX90641
Resolution
8×8
32×24
16×12
溫度範圍
0°C – 80°C
-40°C – 300°C
-40°C – 300°C
準確性
±2.5°C
±1°C
±1°C
介面
I²C
I²C
I²C
電源
3.3V (module supports 5V)
3.3V (module supports 5V)
3.3V (module supports 5V)
Field of View (FOV)
60°×60°
110°×75° / 55°×35° (optional)
110°×75°
封裝類型
Grid-EYE module (2×4 pins)
Module (2×4 pins)
Module (2×4 pins)
Refresh Rate
1fps / 10fps
0.5–64Hz
0.5–64Hz
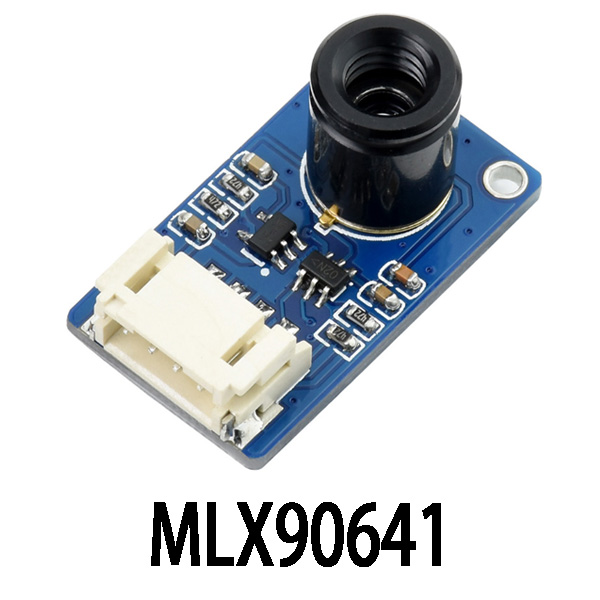
If you’re doing basic thermal detection like sensing people or intrusion alerts, the AMG8833 is a cost-effective choice—it’s simple and does the job. But if you need higher resolution or a wider temperature range, consider upgrading to the MLX90640 (32×24 pixels) or MLX90641 (16×12 pixels). They also use I²C but generate more data, meaning you’ll need a more powerful controller like an ESP32 or Raspberry Pi and specific libraries such as Adafruit’s MLX90640 Arduino library.
AMG8833 Thermal Camera Circuit Example
You’re looking at a thermal imaging setup using an ESP-12E (ESP8266) with an AMG8833 sensor. It captures 8×8 thermal images, perfect for human detection or temperature mapping. The ESP8266 uses GPIO4 and GPIO5 pins over I²C to grab sensor data, process it, then send it via Wi-Fi or serial. Power comes from a 3.7V lithium battery regulated to 3.3V by an HT7333. It charges via USB using the MCP73831 charger. There’s an LED indicator for charging and a switch (SW1) for power control. The PROG interface makes uploading code simple using standard USB-to-TTL adapters.
AMG8833 Arduino Thermal Array Project
This project’s pretty fun—you can build a mini thermal imager using an AMG8833 infrared sensor and an Arduino or ESP32. Connect it via I²C to an OLED display to see real-time 8×8 thermal images. Wiring is easy—just SDA/SCL from the sensor to Arduino pins A4/A5 or ESP32 D21/D22. After initializing, the Arduino reads temperature data every second, showing results in serial too. Try building a simple thermal camera, human detector alarm, or checking heat distribution.
AMG8833 Raspberry Pi Wiring
Connecting the AMG8833 thermal sensor to your Raspberry Pi is easy—just use four wires. Hook VCC to 3.3V (Pin 1), GND to ground (Pin 6), SCL to GPIO3 (Pin 5), and SDA to GPIO2 (Pin 3). Never connect it to 5V—that’ll fry it. After wiring, enable I²C by running sudo raspi-config and enabling I²C under Interfacing Options. Finally, check your connection with i2cdetect -y 1; if you see address 0x69, you’re good to go!
AMG8833 Application
You can use the AMG8833 thermal sensor for tons of practical projects. Without any camera, it can detect when someone walks in—perfect for smart lights, alarms, or automatic doors. Pair it with an OLED, and you’ve got yourself a mini thermal camera for education or fun experiments. It’s also handy for quickly checking the temperature of appliances, food, or liquids without touching. Plus, you can easily monitor sleep patterns at home or keep an eye on overheating equipment in factories or servers.


,TO-226_straightlead.jpg "AD592ANZ")


