Explore the HT16K33 Reference Manual for comprehensive insights into integrating this versatile component with your projects. Learn about its pinout, I2C interface, and common anode configuration.
Teensy 4.0 with Micropython and the HT16K33 display library.
HT16K33
The HT16K33 is a super handy LED driver chip, perfect for your projects using Arduino, ESP32, or RP2040 microcontrollers. With its easy-to-use I²C interface, it can control up to 128 LEDs (like a 16×8 matrix or 4-digit 7-segment display). It even has built-in support for scanning a 13×3 button matrix, saving you from adding extra components.
It offers built-in 16-step brightness control (PWM dimming) for smooth display effects. Plus, it works seamlessly with voltages from 2.4V to 5.5V, compatible with both 3.3V and 5V logic. Low power consumption and a sleep mode make it a good choice for battery-powered devices.
In short, the HT16K33 makes it easy and practical to build your own LED matrix displays, digital tubes, or keypads.
HT16K33 Pinout
密碼
引腳名稱
描述
1–8
ROW0–ROW7
LED row scan signal output
9–16
COL0–COL7
LED column driver output, connectable to 7-segment displays or dot matrix
17
電源電壓
Power supply positive (+2.4V ~ +5.5V)
18
接地
Power ground
19
SCL
I2C clock line
20
SDA
I2C data line
21–23
COL8–COL10
Extra column driver outputs (for larger matrix)
24
測試
Test pin (leave floating or grounded during normal use)
In short, the HT16K33 is super easy to use. Just connect its I²C pins (SCL, SDA) to your Arduino or ESP32, add two 4.7kΩ pull-up resistors, and you’re good to go. It supports both 3.3V and 5V logic, making integration flexible.
Its ROW and COL pins drive LED matrices or numeric displays up to 16×8 size, great for clocks, numeric displays, or status bars. Plus, it handles keypad scanning without extra chips, simplifying complex button input designs.
If you’re looking to replace the HT16K33, here are some options—but they’re not drop-in replacements:
TM1638 works great for simple numeric displays with buttons, but it uses serial shift registers. This means rewriting your code completely—it’s not a direct swap.
MAX7219 is popular for 8×8 matrices or numeric displays, uses SPI, and has PWM dimming. However, it lacks keypad input and has slightly higher power consumption, so it’s better suited for LED-only applications.
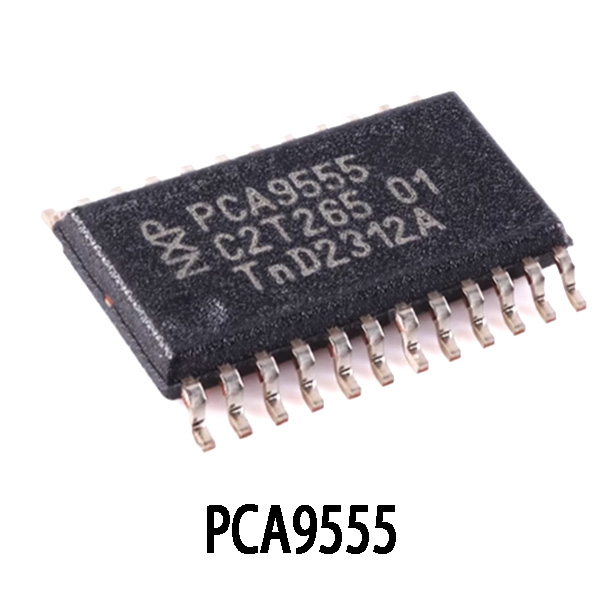
PCA9555 is an I²C GPIO expander with 16 pins, capable of LED driving or button input, but no PWM dimming and not suitable for dynamic LED scanning—good for basic I/O expansion only.
Bottom line: Clearly check your project’s needs before choosing a replacement—don’t just pick based on similar features.
HT16K33 LED Matrix Wiring Diagram
If you’re planning to use HT16K33 for an LED matrix display, you’ll find it super easy to set up. The chip uses an I²C interface (SCL and SDA), unlike others which require many wires. Though the diagram might look more like an HT1632 setup, the HT16K33 is actually simpler.
The LED matrix has rows (COM) and columns (ROW), with each crossing point as an individual LED. HT16K33 handles the scanning automatically, lighting up the right LEDs at the right time. Your MCU only needs to send the display data via I²C, and the HT16K33 does the rest.
Keep in mind, each HT16K33 can control up to 128 LEDs (16×8). To build larger displays, just use multiple chips with different I²C addresses—it’s straightforward and easy.
HT16K33 Keypad Scanner Circuit
If you’re using HT16K33 for keypad scanning combined with LED matrix control, this circuit diagram is a great reference.
Connecting to your MCU is easy—just two I²C lines (SCL and SDA), each with a 4.7kΩ pull-up resistor to VDD for stable communication. HT16K33 supports scanning up to 16 rows × 8 columns, giving you up to 128 keys.
For keypad connections, remember to place a diode in series with each key to avoid false readings when multiple keys are pressed (known as “ghosting”). Also, using a 39kΩ resistor on each line helps stabilize signals and protects the chip.
Place a 0.1µF ceramic capacitor next to the chip’s power pin to reduce high-frequency noise. Lastly, if you use multiple HT16K33 chips, make sure each has a unique I²C address to avoid communication conflicts.
HT16K33 Arduino I2C Example
If you want to control an LED matrix with an HT16K33 and Arduino, it’s very straightforward. For wiring, just connect SDA and SCL to Arduino pins A4 and A5 (or D21 and D22 on ESP32), and power the module with 3.3V or 5V.
Don’t forget to install “Adafruit LED Backpack” and “Adafruit GFX” libraries through Arduino’s library manager.
The code is easy: initialize HT16K33 (default address 0x70), use matrix.drawPixel(x, y, LED_ON) to light up individual LEDs—like turning on LED at column 3, row 4. After setting your pixels, call matrix.writeDisplay() to see the result.
You can easily add animations, scrolling text, or keypad scanning later, making it versatile and fun for your projects.
HT16K33 7 Segment Display Project
Here’s a simple project if you have a 4-digit 7-segment display driven by HT16K33 and want to use Arduino for something fun like a counter, thermometer, or clock.
Wiring is easy: connect SDA and SCL to Arduino UNO pins A4 and A5 (or D21/D22 on ESP32), plus power it with 5V and ground.
With just a few lines of Arduino code using the Adafruit LED Backpack and GFX libraries, you can display a number that increases by one every second, looping from 0000 to 9999.
You can easily expand it further—add buttons for manual control, connect a temperature sensor for real-time temperature display, or pair it with an RTC module to build your own digital clock.


")


